Showing posts with label box. Show all posts

Thursday, March 7, 2013

It's Your Day

Howdy friends!  I haven't been very creative lately but I did manage to finish a card for a new young friend.  He had a birthday a couple weeks ago and turned 10!!  I decided to make him a little card with a treat inside.  It's also time for me to play along with the next challenge at Mo's Challenge Blog
I found out my new friend loves super heroes, so this great image from Mo is perfect!  He even looks like my friend!  I colored him with my Prismacolor pencils.
I added a small sentiment from PTI.  These circles can be perfectly cut with my Spellbinders circle die and they have several sentiments to fit inside.
I made a band to go around the card to keep it closed.  It stays on but easily slides off.
 Here's the inside.  Lots of fun, bright papers and a pocket for some candy I understand he really likes!  I only added a small writing panel since I figure he will be more interested in the candy!
The papers are all from Basic Grey and I have almost used them up!  I didn't add embellishments, he's 10, I don't think he wants any!

I am entering my card in the challenge at:
Mo's Challenge Blog - Anything Goes

I think that's about it.  Thanks for taking a peek!

Blessings & Hugs,

Michelle

Wednesday, February 13, 2013

Hey Hottie!

Happy Wednesday friends!  I am getting back into my groove with card making.  I do love sitting at my table and coloring.  Today I have a fun project I made for someone special.

I picked a very cute image from Whimsie Doodles.  I rediscovered these cute images and really wanted to use one.
 I chose this very adorable boy called Hottie.  Isn't he great?  I colored him with my Prismacolor pencils and added red and white Stickles to his box of candy.  I inked the edges and stamped some small red hearts as well.
 He comes with this great sentiment which I love!  This is not a card but a small box.  You can see the small red fastener that I attached with a small black brad.  The fastener rotates to keep this small card closed on the front of the box.  I also used 2 small red heart brads to keep the top closed.  The brads and fastener are from my neglected stash.  They have been around for several years.  I hope you can see that I embossed the top black layer with my Swiss dot embossing folder.
 Here is the card open.  I added a matching writing panel to leave a small note.
 The card opens up one more time.  You can see I punched an oval hole in the front of the box.  I put some acetate between the box and the mats.
Here's a side view.  I added panels to the sides as well.

I am entering my box in the challenge at:
Use It Tuesday - Fasteners

I think that's about it.  Thanks for taking a peek!

Blessings & Hugs,

Michelle

Monday, January 21, 2013

Daydream Designs January Blog Hop with a FREE DIGI

Good morning friends!  We have a fun blog hop going on at Daydream Designs.  If you arrived here from MariLynn's blog you are on the right track.  If you stopped here first and want to join in the fun head to Diane's blog where this party got started!  The theme for this hop is "hearts" and Diane is graciously offering a $20 gift certificate to her store for one winner that comments on every blog in the hop.  There are some super cute things over there so hop along with us and maybe the winner will be you!  (If you are looking for the fun FREE DIGI scroll to the bottom of this post where you will find it.)

I had fun working on my project for you.  I hope you like how it turned out.
I chose to use one of the Bingo cards from Sweet On You Bingo Cards.  I am really liking the variety of these little guys that Diane has, you can use them on so many projects.  I printed mine on cream card stock and inked the edges with black.  I used a red pigma pen and put a heart around the number 14.  The lovely papers are from Hobby Lobby.  The flowers, pearls, beads and feathers are all from my stash.  I inked the edges of the DP with black and sewed around the perimeter twice with black thread.
 Here's the inside.  The writing panel in on the left this time because the right side has a small box to put some candy in.  I used a MS border punch in several places including the small piece of pink on the spine.
This is the box.  I used the MS punch again.  I like how it looks on here.  I didn't embellish the top of the box so you could see the cute paper.
The box is only 1" tall.  Just right for a small treat.
 Here's the other great DP.
Here you can see I punched another piece for the outer spine.

Your next stop on the hop is Miesje.  If you get lost along the way start back at Diane's blog, she has the whole list there.

Diane
Amy
Beth
Debbie
Helen
Jenn
Jerusha
Karen
Kris
MariLynn
Michelle (me)
Miesje
Sandie
Stephanie
Traci
Vicki

So Sorry, the FREE DIGI has expired.

I think that's about it.  Thanks for taking a peek!


Blessings & Hugs,

Michelle

Sunday, January 20, 2013

Snowbuddy Loves You Like I Do

Happy Sunday to you all.  I hope you are blessed where ever you are.

Today I have a project I created just for fun.  I love the images by Christy Croll from Tiddly Inks but I haven't used one in a few months.  I really missed them and joining in the challenges over there so I'm hoping to jump back into the game.
This time I chose a super cute new image called Winter Wryn.  I love Wryn's skinny, skinny arms and legs.  She is so cute.  I colored her with my Prismacolor pencils and added tinsel glitter to the fur on her hat and dress.
I decided to make something besides a card.  I filled a small canning jar with M&M's (my favorite) and "built" a holder around it.  The very glittery polka dot paper is from MME (LOVE their paper!).  I added some white tulle (from my sewing stash) behind the image and some pearls in the corners.
The top of the holder comes together and wraps over itself.  I punched an oval in the top and added 2 (very, very old) brads to keep it closed.
I used the sentiment that came with Wryn on the inside.  This would even be great for Valentine's Day if I changed out the colors....

I am entering my box in the following challenges:
Tiddly Inks - Anything Goes
Cupcake Challenge Blog - Anything But a Card
Papertake Weekly - Baby It's Cold Outside
City Crafter - Winter Blues (hence my color scheme!!)

I think that's about it.  Thanks for taking a peek!

Blessings & Hugs,

Michelle

Saturday, December 22, 2012

Hello folks!  It's Saturday and I have another project using a cute image from Daydream Designs.

I chose a small image from the Sweet Warm Ups set.
 I printed 2 of the peppermint candies and colored them with my Prismacolor pencils.  Then I covered them with a layer of Glossy Accents.  (The other peppermint is on the other side of the box.)    I made the box after seeing a similar one on Pinterest.  Unfortunately the link was broken so I won't link it here.  I sort of figured out how to put the box together but mine doesn't look like the pictures when it's open.  But that's ok because I like how this turned out.  I used green and red paper to cover the box and embossed the red with my Swiss dot folder.  The sparkly red trim is from my LCS.
Here is the box opened.  The original was actually a box when you folded down the sides but I couldn't come up with how they did that.  It doesn't matter though since the ribbon keeps it closed.  I put a fun treat inside for the nail artist at my hairdresser's.  My daughter is planning to have her own bakery someday and just finished several open houses to sell some of her creations.  These are peppermint oreos covered in white chocolate with crushed peppermints on top.  I haven't tried one yet but I'm guessing they are amazing!

Christmas is right around the corner.  I hope you are enjoying the time with family and loved ones.

I think that's about it.  Thanks for taking a peek!

Blessings & Hugs,

Michelle

Friday, October 19, 2012

The Digi Garden Scarecrow Box

Hello dear friends!  Welcome to my little papered cottage!  Enjoy your stay!

Since it's Friday I have another project for The Digi Garden.  This time around I chose to make a box for potpourri.  I had seen the idea on Becca Feeken's blog months ago.  She had made a very elegant box and I have been wanting to do something similar.  Mine is not elegant, but I think it is fun and it will look great on my enclosed porch for the fall.
 I used Patches the Scarecrow for my box.  Isn't he the cutest thing??  (although my girl, Hannah, has decided its a girl scarecrow and her name is Eliza  :)  I told her I would let all of you know that!  lol)  I colored him with my Prismacolor pencils, then cut him out and matted him on dark brown.
 Here's the front of the bow.  After I inked and sewed my layers I cut out the center with my oval nestie.  I cut out an oval in the side of the box as well.  I added a piece of Pet Screen to the opening.  You can buy this stuff at the hardware store, but you can also get it at a lot of quilt shops.  The first time I used it I made a whole bunch of small tote bags that were very sturdy.  I had run out of the original package, but our dog and cat like to look out the screen door in the summer.  They don't try to make holes, but when they get on their hind legs to look out sometimes their claws would get stuck in the screen.  A couple years ago I purchased Pet Screen again and replaced the screen in the door.  They have not put a single hole in the screen after 3 summers.  Great stuff!  Anyway, I had some left over and I decided to use it in the openings of the box.  This way you can smell the potpourri but it is contained.  
 Here's the top of the box.  I used a Memory Box die to cut the little doily.  I glued a pumpkin on top of that.
You can't see that I have some scented pine cones in there, but I do.  The open box allows the scent to come through nicely!

I am entering my box in the following challenges:
Frilly & Funky - Anything but a card with someplace to put something...I hope this counts.  I understand if it doesn't
Stamp n Doodle - Anything Goes

I think that's about it.  Thanks for taking a peek!

Blessings & Hugs,

Michelle


Tuesday, October 16, 2012

Shopping Our Stash #73

Hello blogging friends!  It's Tuesday!  That means another challenge at Shopping Our Stash!  This week we want to see Halloween or something with food or candy.  One of my fellow Divas at The Digi GardenVicki, made the most adorable treats for Halloween.  You can see her's here.  I don't celebrate Halloween but these were so cute and one of my boys LOVES candy corn so I thought I would make one for him (and his boss's daughter).
 I used two images, Ursula's Pumpkin Costume and Edward's Pumpkin Costume.  They come as outlines or colored.  I love to color with my Prismas so I used the outline version.  I used some card stock that has been in my stash for years.  Honestly, how often do you use orange?  The yellow I embossed with my swiss dot folder.  I used my spellbinders dies to cut the holes.  I put the candy in baggies and tucked it inside.  I closed the top with brads, also from my stash!
 This is Edward....
....and this is Ursula.

I think that's about it.  We would love to see what you come up with this week.  Grab your stash and play along!  Thanks for taking a peek!

Blessings & Hugs

Michelle

Sunday, October 7, 2012

Stampin' Sisters in Christ #160

Good morning and many blessings to you today!  Grab a cuppa and stay awhile.

Today it is time for a new challenge at Stampin' Sisters in Christ.  This week I am the hostess.  That means I chose the scripture for our challenge.  That means I also spent time praying about what the Lord would have me share with you.  My verses are:

"that you being rooted and grounded in love, may be able to comprehend with all the saints what is the width and length and depth and height - to know the love of Christ which passes knowledge."  Ephesians 3:17-18

I have walked with the Lord a long time and I have always believed that He loves me.  But this year everything has been stripped away and I have allowed myself to sink into the everlasting arms of my Heavenly Father.  I have let Him love me.  Have you ever read the gospel according to John?  Do you know how he refers to himself?  John 13:23 says: "Now there was leaning on Jesus' bosom one of His disciples, whom Jesus loved."  John refers to himself that way more than once.  Think about that.  He doesn't say Jesus loved him more.  He says "the disciple whom Jesus loved".  John allowed Jesus to love him.  To understand that think about children.  Some of them let you love on them and some hold you at a distance.  You may love two people the same but they may respond differently to you.  John allowed Jesus to love him.  What does that mean?  Again, think of a small child.  When they are scared, hurt, worried or lonely you want to comfort them.  The one that lets you love them will climb into your arms trusting that you are going to take care of them, that everything will be ok.  And that is what I have learned to do this year.  I have taken my head knowledge of Jesus and let it become heart knowledge.  I was brought to the very end of myself and I chose to say "I love You, Lord and I will allow You to have Your way and work in me.  I will glorify You and I will let You show me the grandeur of Your love."  And He has.  More than I can say.  I am experiencing the width, length, depth and height of His love.

Thinking about how great the love of the Lord is, I want you to create something that shows length, width, depth and height.  In other words I would like to see you make a box, or alter a box.  (you could also simply use an image of a box if you prefer...like a gift...?)  So get your creative juices flowing and make something amazing for us this week!  We can't wait to see what you come up with!!
A while back I was blog surfing and I landed on the most beautiful blog.  I think her name is 
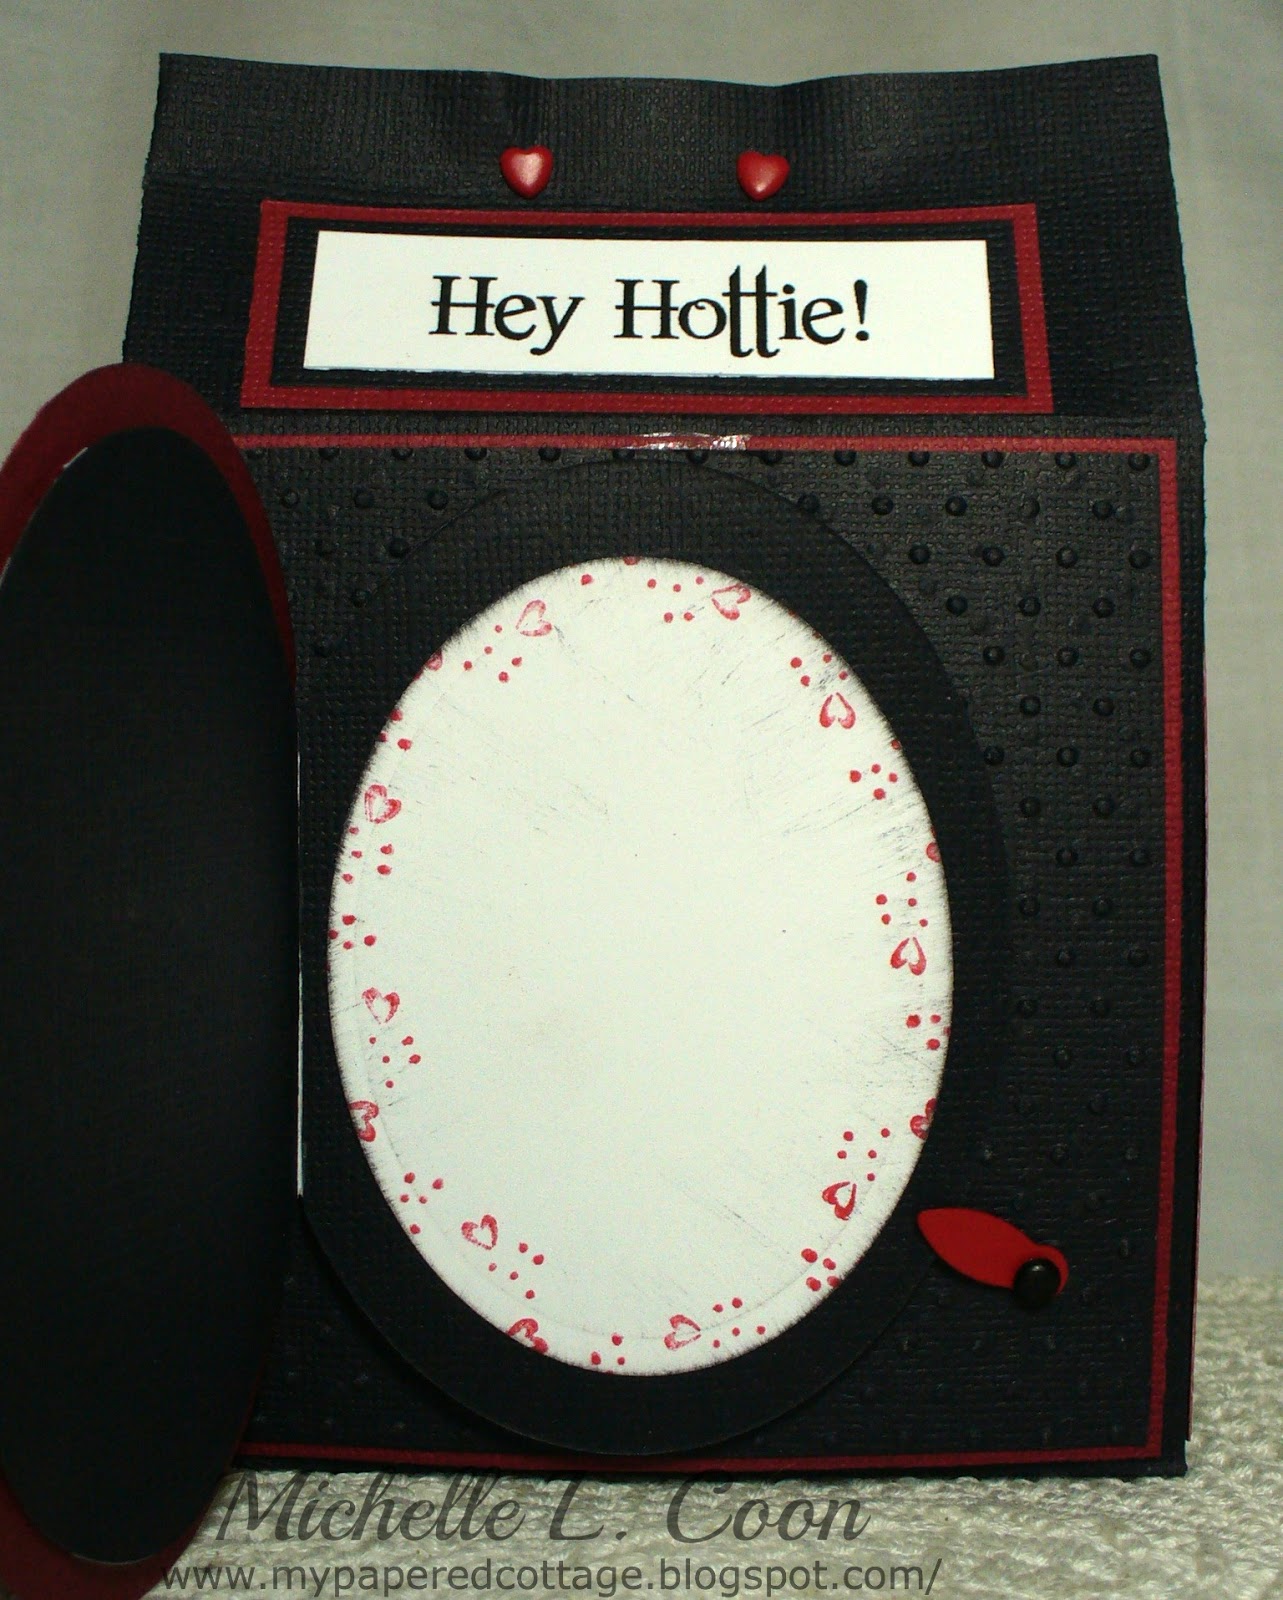
Wenche.  She has the most beautiful things over there.  She had made this box and then given a tutorial here.  Her directions were excellent and my box went together so easily following her directions.  I used my current favorite paper from MME.  I can't get enough of this stuff! 
I inked all my edges of both the box and the DP.  The roses were from my stash as well as my pearls.  (You can't have too big a stash of pearls I'm thinking)
The DP is double sided so I used the gingham on the back for some of the panels.
Here is the great thing about this box!  When you open it the sides can slide out so you can see the inside better.  I added some old SU stamps to the plain panels.

I think that's about it.  Be sure to stop by all my Sister's blogs and see what lovely treasures they have for you this week!  Thanks for taking a peek!

Blessings & Hugs

Michelle